
Putting in the pond
If you remember the previous post about my wildlife garden, you’ll know that I got a preformed pond for Christmas! The big cardboard box I was holding in the photo was this pond:

You can see the pond has different levels for placing pond plants and an escape ramp for tiny critters! I think it’s quite small at about 80 x 60 cm and 30cm deep.
Digging the wildlife pond
I saved digging the pond for a sunny day as I’m a fair weather kind of person! It so happened that the first reliably warm weekend day this year in Sussex was Mother’s Day. So what an opportunity to get the two men in my life, my husband Mike and son Rowan to dig the hole!

I took the pic below from the attic room of our cottage and it shows the back garden.

I chose a spot for the pond where I can sit and look at it from the bench. It’s quite close to a large fatsia but we can cut that back at will if it seems to be detrimental.

Mike checked that the pond was level before we filled it with water – that’s a spirit level he’s holding in an earlier picture. If the pond’s not level, it looks strange once filled. But even if you’re careful, we found that you can’t fully allow for it settling in the ground!
I think it looks pretty good, and I’ve ordered some things to make it look even better! I found Arthur Parkinson’s book Planting a Paradise helpful for this. It only has a page or two about ponds, but provided a very helpful shopping list of plants for small water features. Read my next post to find out more!
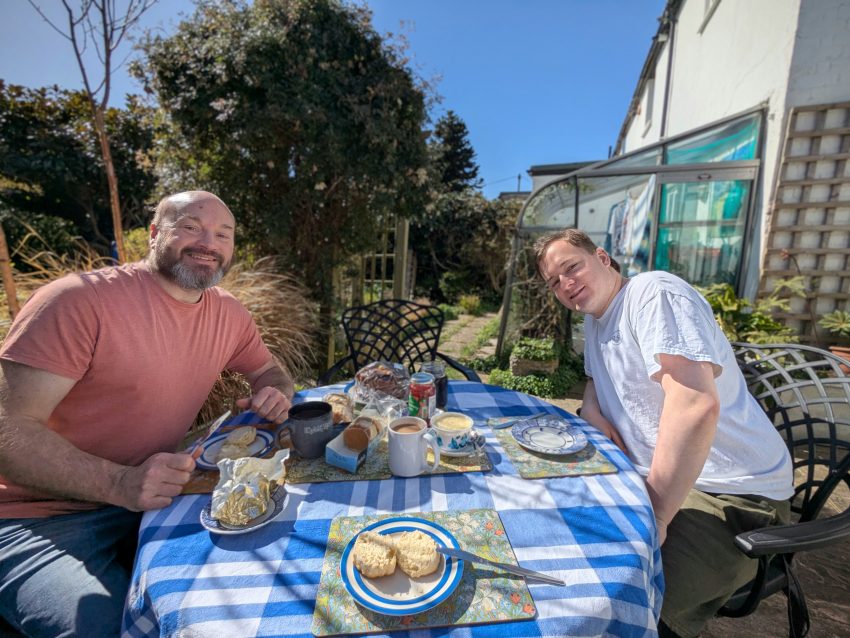
A Mother’s Day treat
After all that hard work, we had to refuel with cream scones and cake! If you’re wondering about my garden layout, this was taken on the patio and the pond is about 3m behind Mike’s right shoulder.
Read part 3 to find out which pond plants I chose and how I aerated my wildlife pond